


Game-changing Tools I can’t believe I’ve missed for this long
I could've saved so much time if I knew about them before!

For my first post I thought I’d start with some of the biggest “Oh wow!” moments I’ve ever had since I started using Blender in 2019.
You probably already know two of these, but you need to go a bit deeper under the surface to really understand how powerful they actually are. Once you’ve read this post you will think to yourself: “How did I not know of this before?” and “Why is nobody talking about this?”
So let’s get straight into the first one…
Rigify
Most people, when you mention Rigify, probably think of “Meta-Rig”.
Until just a couple weeks ago I thought the same! If you watch character workflow videos on YouTube you only really see people using the basic Human Meta-Rig, so it’s easy to think that, that’s all there is to it. A couple premade rigs that you can use to quickly rig your model if the bone structure fits.
But then I discovered the “Rig Anything with Rigify” Playlist by CGDive on YouTube.
Here’s the introduction to it, that convinced me to watch the whole series:
Once I realized that the point of Rigify is to be able to create a professional character rig for whatever character you have (which he beautifully showcases with a 6-legged horse with 2 tails), I was convinced.
In summary, you have a collection of rig “branches”, which you can combine in whatever way you want to create your desired final rig.

On top of that you can also set up a custom rig interface to quickly hide or unhide bone groups like the legs or the head and give everything a custom color scheme.
The biggest thing that pushed me away from using it was the sheer amount of Bone Collections (back then Armature Layers). I remember trying to adjust the weights of a character I rigged with Rigify when I was still a rigging noob, and after a couple minutes of trying to find the correct bone I just gave up and decided that I don’t want to deal with this ever again.

But after just a few minutes of explanation, all of this seems so much easier.
The only collections that really matter are the last three, and from those the “DEF” collection contains all the bones that actually deform the mesh.
I could write a lot more about why you should watch this tutorial series, but instead just watch it yourself. You won’t regret it.
Drivers
Drivers are boring and complicated!
UNTIL you know this one feature that makes them actually usable for anyone that isn’t a professional Phython developer.

“Copy as New Driver”
The one feature that turned me into an avid Driver enjoyer.
It basically allows you to copy the value of the input field that you have copied as a driver to any other input field.
Here are two examples:
Keeping object settings synchronized:
If you have multiple objects in a scene that you can’t just link together, you can copy the settings as drivers from one object to all the other, to keep them all in sync.
In the example above I copied the subdivision level as a driver from one cube to another, so that they always have the same subdiv level.
This is a simple example to understand the basics of what you can do with this. Here’s how I’ve used it for a recent project where I created an animation based on the manga series Berserk:

For my animation I needed to be able to adjust various parts of the model for each scene, without having to search for the exact setting I want to adjust every time I want to adjust it.
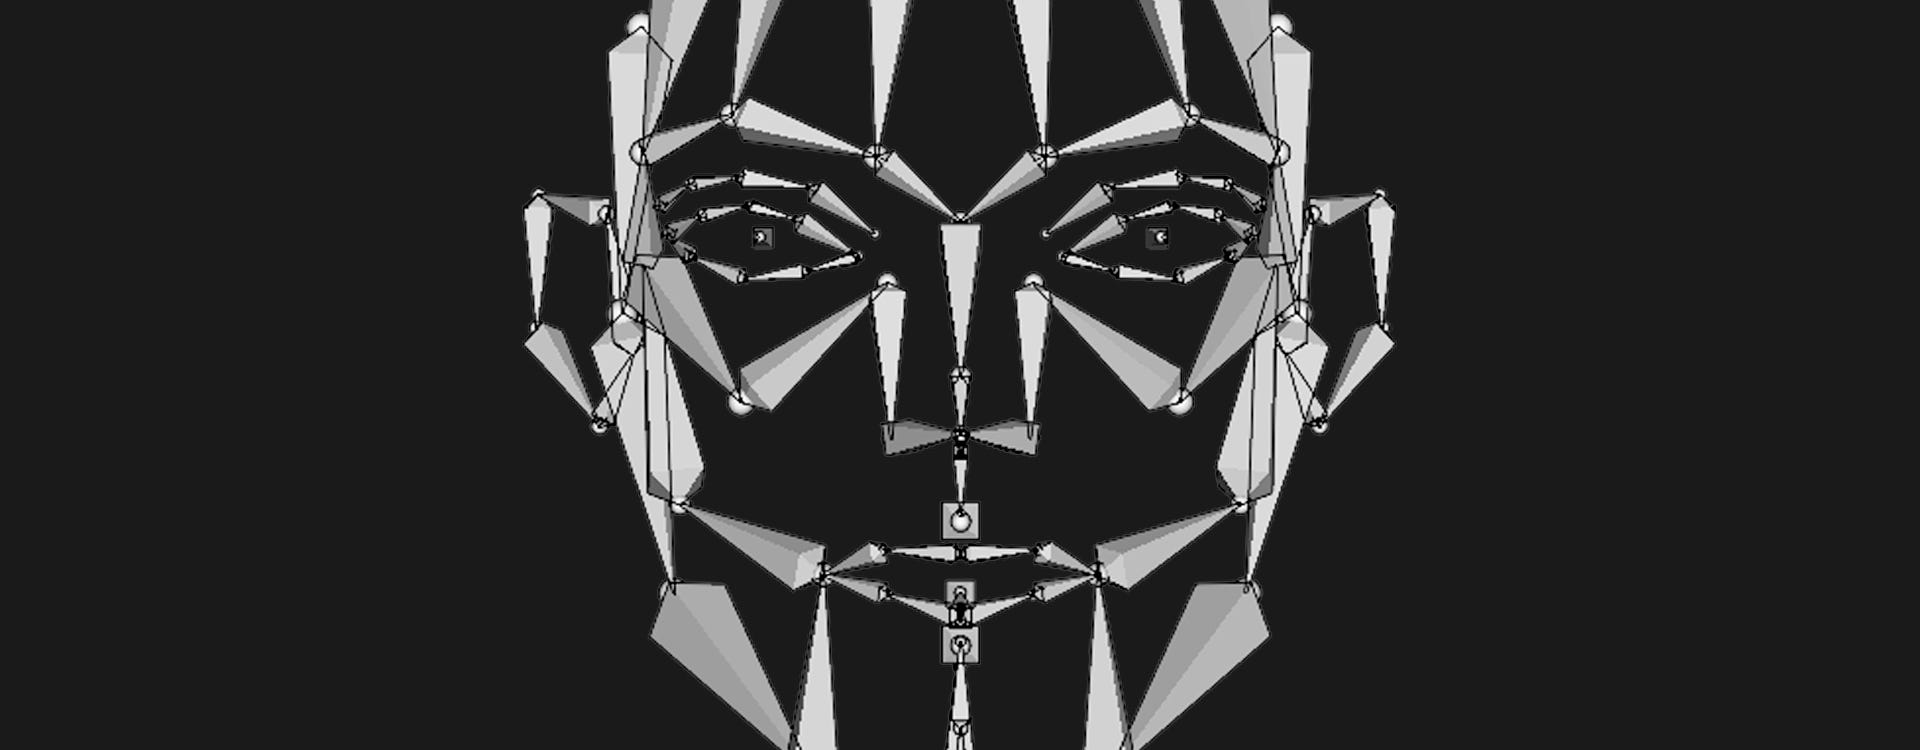
So I created a “controller” object. In this case the monkey head you see between guts’ legs.
This controller will not be visible in the final render, the only purpose it has is to serve as an aggregator for all the settings I want to be able to change dynamically per scene.
In this case I used it:
to switch between a 4k and 8k texture depending on how close the camera is to his face
to enable/disable highlights on his armor and hair
switch between glowing and non-glowing eyes
set the multiresolution level for the body
switch between multiple teeth models
enable/disable a Line Art texture on each piece of the model across various materials
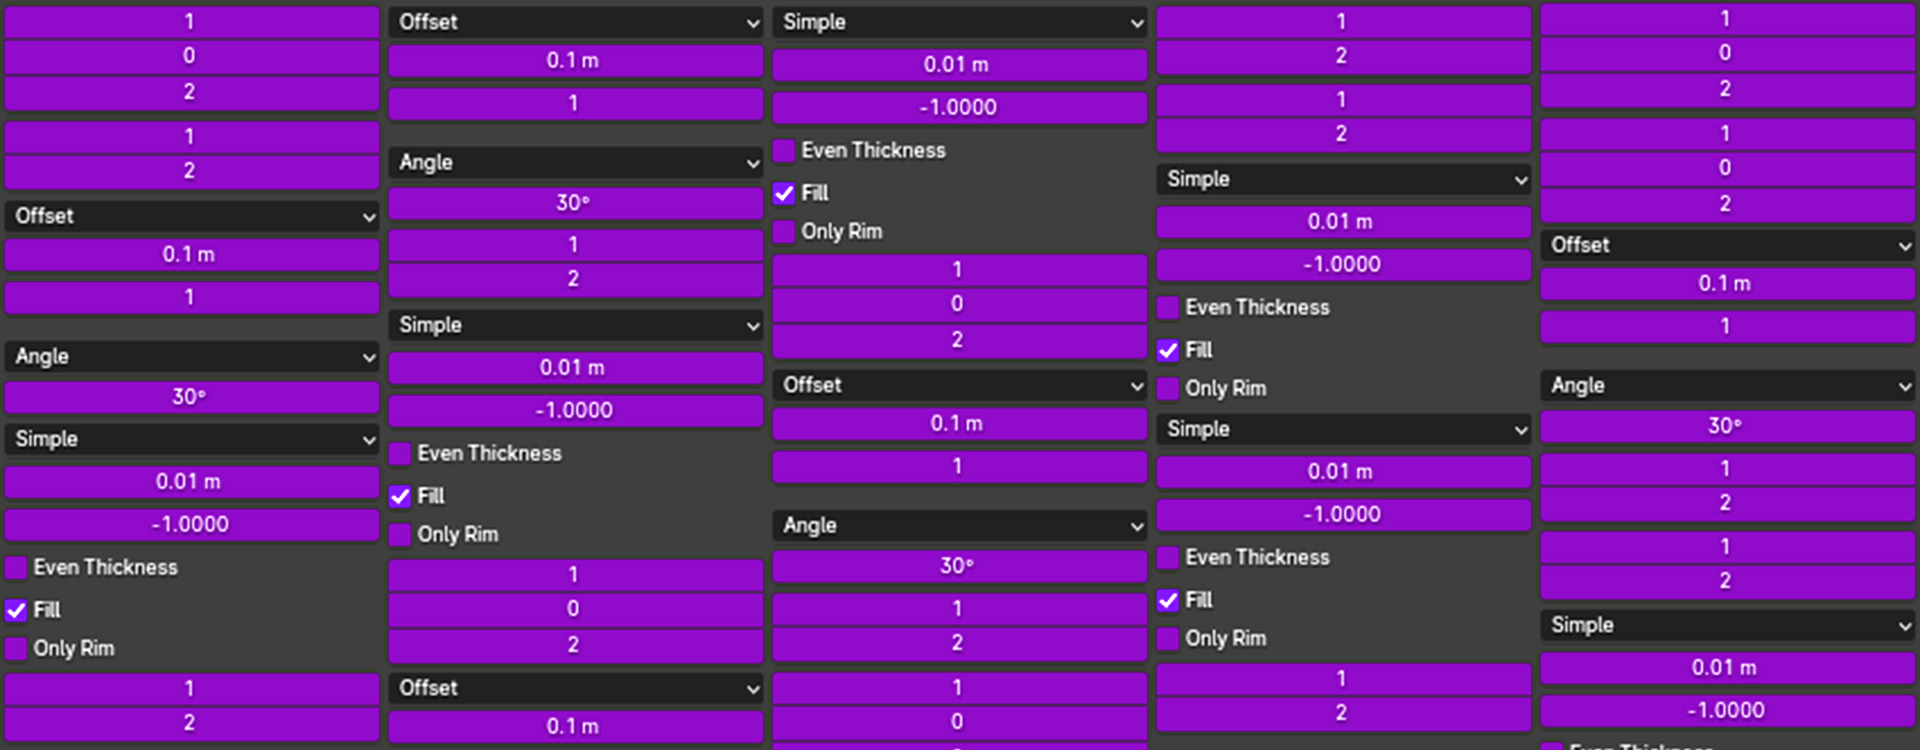
I created custom properties (a potential future topic) on the controller object which are visible in the N-Panel of the 3D Viewport (see screenshot above).
Most of them are simple integer values that you can set to either 0 or 1. Then I just copied them as a new driver to the setting that they are supposed to control and it’s done!
The reason I used the values 0 and 1 is because these properties are connected to mix nodes in the materials of the character.
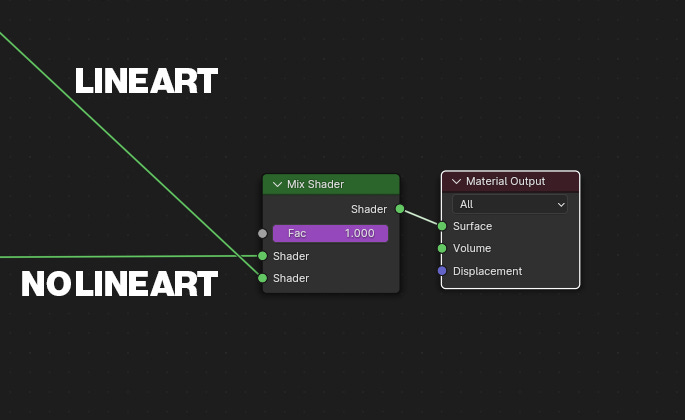
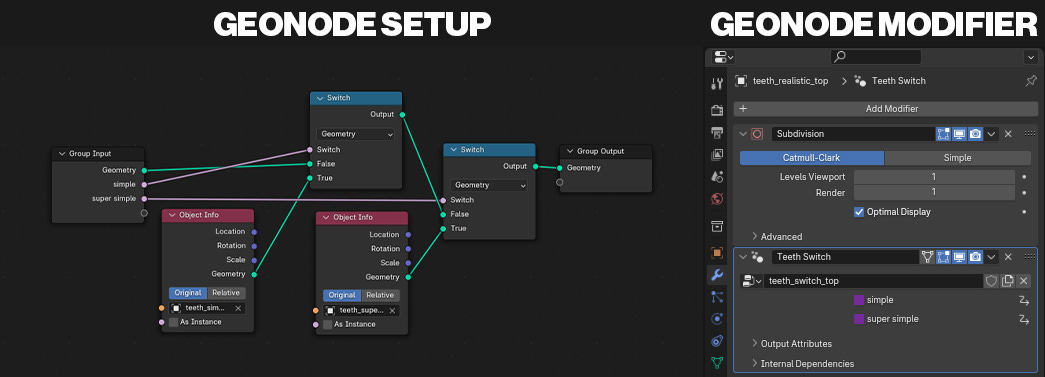
For his teeth I used a super simple Geometry Node setup to switch between three different teeth models, using a Boolean checkbox. The custom properties on the controller are also checkboxes.
There’s probably a lot more you can do with drivers, but this is how I’ve used them so far. It has saved me a lot of time during this project and I hope you can do the same from now on.
Softwrap
I don’t like retopology.
It’s boring, tedious and takes a long time.
Until I’ve found an addon called Softwrap.
Here’s what it does:
After seeing this I didn’t even ask how much it costs!
So how does it work?
It allows you to wrap one mesh over another just like the Shrinkwrap modifier, but in real time plus you can make manual adjustments.
So If you’ve finished your sculpt and want to retopologize it, all you need to do is import an already retopologized mesh (like these ones) and wrap it around the sculpt.
To make sure that the geometry lands in the right spot you can use “pins” that allow you to pin specific vertices of the retopo-mesh onto the surface of the sculpt.
So the way I use it is:
Select sculpt as source object and retopo-model as wrap object
Place pins in the most important areas (ears, nose, mouth, fingers etc.)
Start simulation
Tweak wrapping during simulation
Apply
Done!
All of this takes a couple minutes.
And if you don’t have a retopologized model, you can even create a simplified version of your mesh by extruding a cube to trace the shape of it, apply a Subdivision Surface modifier on it and use that.
I even use it to transfer photo scanned textures from one model to another, but that’s a whole different topic I might get into in the future.
To summarize: This addon is amazing and if you are someone who has to retopologize a lot, it is definitely worth the prize.
But just to clarify: That doesn’t mean that I never retopologize manually anymore. Sometimes I need very specific, handcrafted topology which I can’t find anywhere else. In those cases I still retopo manually.
Here’s the link to it if you want to check it out:
https://blendermarket.com/products/softwrap
And that’s it!
The first issue of 3D Treats.
I hope you enjoyed it and learned something new along the way. If you know someone that might find this post useful, feel free to share it with them.
And if you have any further questions you can either post them as comments under this post or join my Discord server, where I have a dedicated channel for any questions around Blender and 3D in general.
Have a great day! :)
Noggi